TFX Airflow Tutorial

TensorFlowExtend

Tutorial

环境要求

  • Linux/MacOS
  • Python 3.9 及更高版本
  • Virtualenv
  • Git

环境配置

1
2
3
4
5
6
7
8
9
10
    cd
    virtualenv -p python3 tfx-env
    source ~/tfx-env/bin/activate
    mkdir tfx; cd tfx


    git clone https://github.com/tensorflow/tfx.git
    cd ~/tfx/tfx/tfx/examples/airflow_workshop/taxi/setup
    ./setup_demo.sh

创建流水线框架

1. 打开一个新的终端窗口,在该窗口中执行下面的命令,启动 airflow 管理服务

1
2
3
4
5
    # Open a new terminal window, and in that window ...
    source ~/tfx-env/bin/activate
    cd
    airflow users  create --role Admin --username admin --email admin --firstname admin --lastname admin --password admin
    airflow webserver -p 8080

2. 打开一个新的终端窗口,在该窗口中执行下面的命令,启动 airflow 调度服务

1
2
3
    # Open another new terminal window, and in that window ...
    source ~/tfx-env/bin/activate
    airflow scheduler

在浏览器中:

打开浏览器,然后转到 http://127.0.0.1:8080
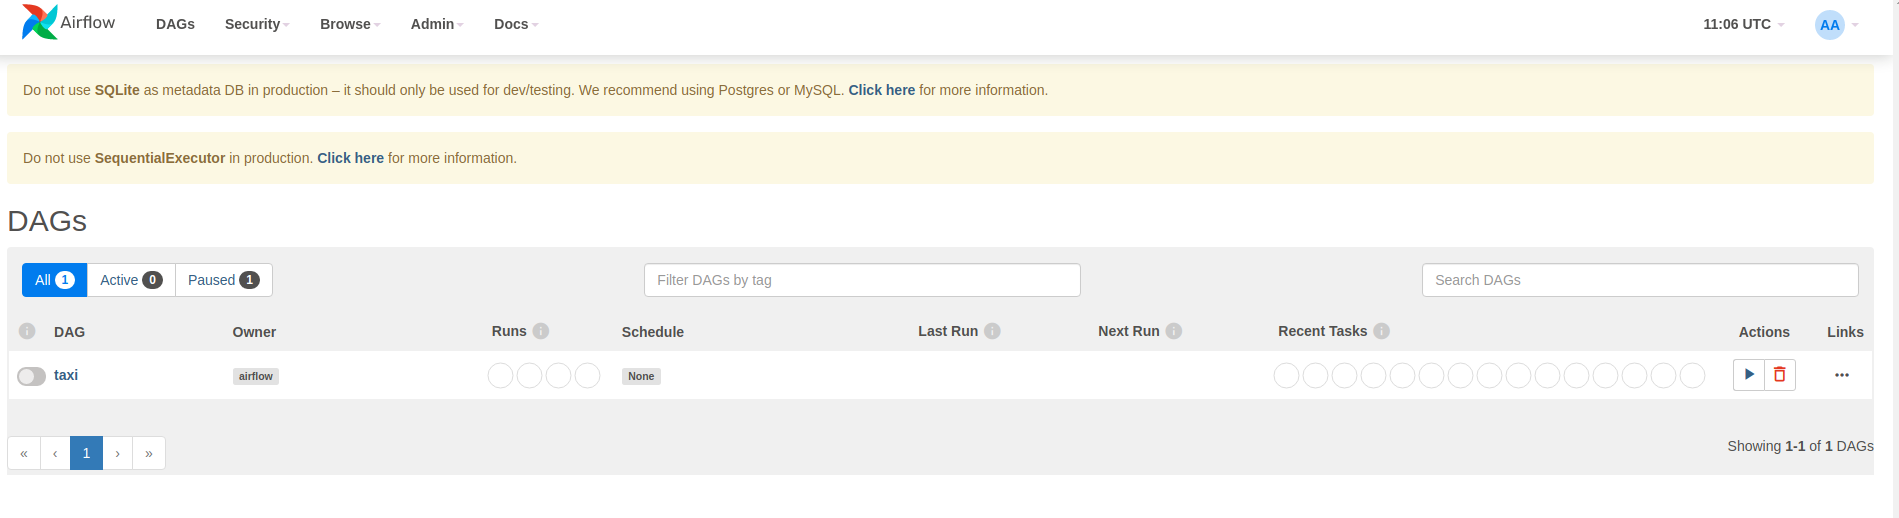
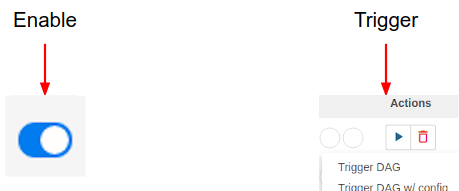
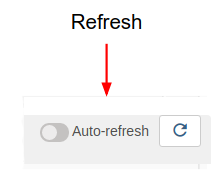
DAG 操作

登陆管理平台,用户名:admin, 密码:admin login page 运行 taxi 流水线 DAG

TensorFlowdag-button-refresh

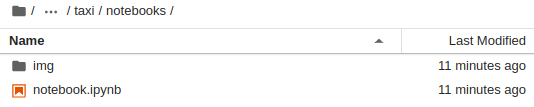
3. 打开一个新的终端窗口,在该窗口中执行下面的命令,打开对每个组件进行性能分析的 notebook

1
2
3
4
5
    # Open yet another new terminal window, and in that window ...
    # Assuming that you've cloned the TFX repo into ~/tfx
    source ~/tfx-env/bin/activate
    cd ~/tfx/tfx/tfx/examples/airflow_workshop/taxi/notebooks
    jupyter notebook

login page